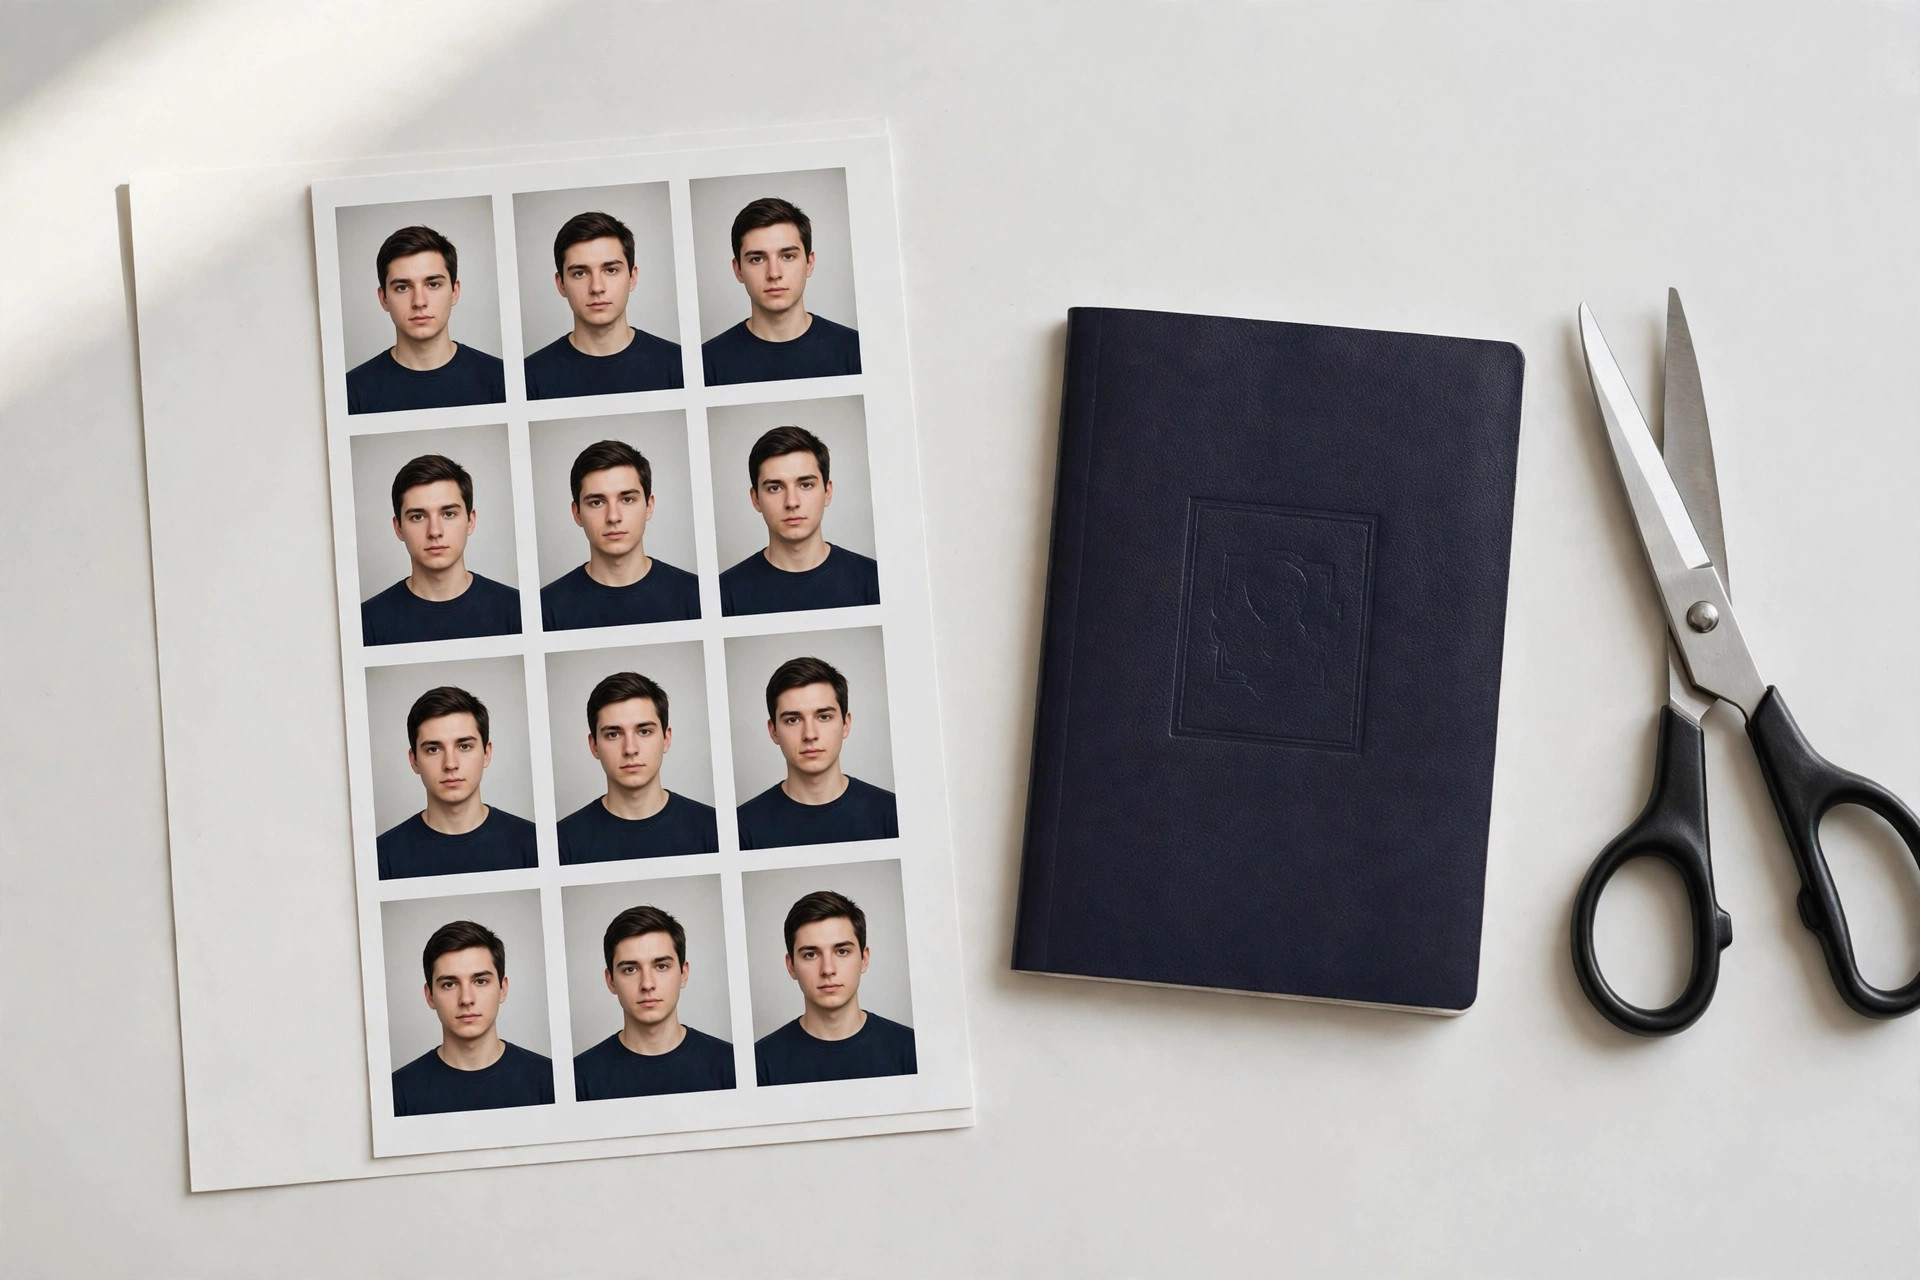
A passport photo looks simple: a small, plain portrait on a plain background. It is also one of the least forgiving prints you will ever make. The photo is examined at close range, often scanned or compared against a face, and rejected if it is soft, wrongly sized, or badly cropped. Most rejections are not about the camera. They are about three numbers being wrong: the physical size, the pixel dimensions, and the DPI.
This post works through all three, with the arithmetic shown so you can check your own file before you print or upload it. One important caution first: the sizes below are the commonly specified formats for the documents named, and issuing authorities update their requirements from time to time. Always check the current requirement of the authority you are applying to before you print. The calculations do not change, but the size you must calculate for sometimes does.
Why a document photo needs 300 DPI
DPI for a print is always the same formula:
DPI = pixels ÷ inches
A 600-pixel-wide image printed 2 inches wide is 600 ÷ 2 = 300 DPI. The same image printed 4 inches wide is 600 ÷ 4 = 150 DPI. Nothing about the file changed; only the print size did.
For a banner viewed from ten metres away, 30 DPI can be plenty, because the eye cannot resolve fine detail at that distance. A passport photo is the opposite case. It is held in the hand, looked at from 30 centimetres or less, and its whole job is facial detail: eyes, eyebrows, the shape of the face, skin texture. At that distance, anything below about 200 DPI starts to look soft, and 300 DPI is the sensible, widely used working target. There is no benefit in chasing 600 DPI for an ordinary print either — most photo printers cannot show the difference at this size, and the file only gets larger. Aim for 300 DPI, and treat it as a target for real pixels, not a label pasted onto a small file.
The guide How to Calculate Image DPI walks through the pixels-divided-by-inches formula in detail, and How Many Pixels Do You Need for Printing? covers the same multiply-inches-by-DPI method for larger print sizes.
The common sizes, in one table
Two formats cover most passport and visa applications, and they are easy to confuse because they look similar but are not interchangeable:
| Format | Physical size | Aspect ratio | Pixels at 300 DPI | Pixels at 600 DPI |
|---|---|---|---|---|
| US passport / visa style | 2 × 2 inches (51 × 51 mm) | 1:1, square | 600 × 600 | 1,200 × 1,200 |
| UK / Schengen style | 35 × 45 mm (1.378 × 1.772 inches) | 7:9, portrait | 413 × 531 | 827 × 1,063 |
| Common 4 × 6 inch print sheet | 4 × 6 inches | 2:3, portrait or landscape | 1,200 × 1,800 | 2,400 × 3,600 |
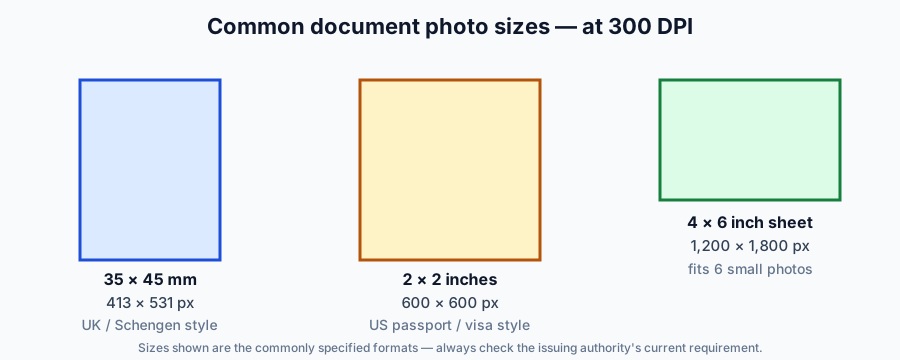
Note the conversion hidden inside the 35 × 45 mm row. Millimetres must become inches before you multiply by DPI, because DPI is dots per inch. Divide by 25.4: 35 ÷ 25.4 = 1.378 inches, and 45 ÷ 25.4 = 1.772 inches. Then 1.378 × 300 = 413.4, rounded to 413 pixels, and 1.772 × 300 = 531.5, rounded to 531 pixels. The Pixels to Inches and Inches to Pixels tools do these conversions instantly if you would rather not do them by hand.
The aspect ratio matters as much as the pixel count. A square 2 × 2 inch photo needs a 1:1 crop, while a 35 × 45 mm photo needs a 7:9 portrait crop. Cropping a square photo into a portrait rectangle, or stretching a portrait photo into a square, changes the face shape — and for an identity document, a distorted face is a failed photo even if the pixel count is perfect. Crop, never stretch.
Worked example 1: a 2 by 2 inch photo
This is the simplest case, and a good way to check that the method is clear:
- Width: 2 inches × 300 DPI = 600 pixels.
- Height: 2 inches × 300 DPI = 600 pixels.
- Total: 600 × 600 = 360,000 pixels, or 0.36 megapixels.
That last number surprises people. A passport photo needs less than half a megapixel at 300 DPI. Any modern phone produces far more than that, so resolution is almost never the real problem with a phone passport photo. The real problems are cropping, lighting, background, and head position — the things a pixel count cannot fix.
Now run the check in reverse, which is the check that actually catches mistakes. Suppose your file is 900 × 900 pixels and you print it 2 inches wide. Its effective DPI is 900 ÷ 2 = 450 DPI — comfortably above target, and the printer will simply downsample it. Suppose instead your file is 300 × 300 pixels. Its effective DPI at 2 inches is 300 ÷ 2 = 150 DPI. That is visibly soft for a close-up identity photo, and no DPI label will rescue it. The Print DPI Calculator runs this check for any pixel size and print size, and the 300 DPI Calculator gives the required pixels at 300 DPI directly.
Worked example 2: a 35 by 45 mm photo
The metric case needs one extra step, the millimetre-to-inch conversion, and that step is where most errors creep in:
- Width: 35 mm ÷ 25.4 = 1.378 inches; 1.378 × 300 = 413 pixels (rounded).
- Height: 45 mm ÷ 25.4 = 1.772 inches; 1.772 × 300 = 531 pixels (rounded).
- At 150 DPI, the same photo would need only 207 × 266 pixels — and would look soft at close range.
- At 600 DPI, it needs 827 × 1,063 pixels: 1.378 × 600 = 826.8, rounded to 827, and 1.772 × 600 = 1,062.9, rounded to 1,063.
Check the rounding by working backwards: 413 ÷ 1.378 = 299.7 DPI, and 531 ÷ 1.772 = 299.7 DPI. The tiny shortfall is rounding, not a mistake — a pixel or two either way makes no visible difference. What does make a difference is forgetting the conversion altogether and multiplying 35 by 300, which gives a nonsensical 10,500 pixels and a file nobody asked for.
If you are preparing the file for an online upload rather than a print, the authority may specify a pixel range instead of a DPI — for example, a minimum pixel size, a maximum file size, or both. In that case the pixel dimensions are the requirement and DPI is secondary, as explained below. Still calculate the print size at 300 DPI as a sanity check: if your upload file would print at well under 200 DPI at the required physical size, it is probably too small for a good print as well.
Worked example 3: printing several photos on one 4 by 6 inch sheet
Photo labs and home printers commonly print on 4 × 6 inch paper, and a single sheet can carry several document photos if the layout is worked out in advance. A 4 × 6 inch sheet at 300 DPI is 1,200 × 1,800 pixels in total: 4 × 300 = 1,200 and 6 × 300 = 1,800.
For 2 × 2 inch photos, printed in portrait orientation on the sheet: across the 4-inch width, 4 ÷ 2 = 2 photos fit, and down the 6-inch height, 6 ÷ 2 = 3 photos fit. That is 2 × 3 = 6 photos per sheet, with no wasted space except the printer’s border, if it has one.
For 35 × 45 mm photos, printed in portrait orientation: across the width, 4 ÷ 1.378 = 2.90, so 2 photos fit; down the height, 6 ÷ 1.772 = 3.39, so 3 photos fit. Again that is 2 × 3 = 6 photos per sheet, this time with some unused margin. If your printer cannot print borderless, or it enforces a margin, that margin eats into the usable area first — recheck the fit against the printable area, not the paper size, and leave a small cutting margin between photos so scissors do not clip a neighbour’s edge.
The Photo Print Size Calculator checks which standard photo sizes a given image supports at your chosen DPI, which is the same question from the other direction: given my pixels, what can I print?
Printed photo vs online upload: different rules
This distinction causes more confusion than any other part of document photos, so it is worth stating plainly.
For a printed photo, DPI is real and physical. It is pixels divided by the inches the printer actually lays down. A 600 × 600 pixel file printed 2 inches wide is 300 DPI on paper, whatever the file’s metadata says.
For an online upload, the system usually cares about pixels, aspect ratio, and file size. Many image files carry a DPI value in their metadata, but many do not — a phone photo, a screenshot, or a cropped export may carry no DPI value at all, or a default value such as 72 DPI that means nothing about print quality. Uploading a 600 × 600 pixel file labelled 72 DPI does not make it a 72 DPI photo in any meaningful sense; the system sees 600 × 600 pixels. Conversely, relabelling that same file as 300 DPI does not add a single pixel of detail. The Image DPI Checker shows what a file really contains, including when no DPI metadata is stored at all, so you can stop guessing about the label and look at the pixels.
Practical rule: for an upload, meet the pixel and aspect-ratio requirement first. If the form also asks for a DPI value, set the metadata to match — the Change Image DPI tool does this without resampling — but never treat the metadata as a substitute for pixels. For a print, meet the pixels-at-size requirement, and the DPI takes care of itself.
Common mistakes
Printing the wrong format for the document. A 2 × 2 inch photo and a 35 × 45 mm photo differ by about 6 mm in width and 6 mm in height. They look alike in a wallet, but an automated checker measuring the printed size will not accept one for the other. Confirm the format for your specific document, then calculate for that format only.
Trusting the DPI label instead of the pixels. A file labelled 300 DPI might be 300 × 300 pixels, which at 2 inches is only 150 DPI. Always divide pixels by inches for your actual print size. The label is a suggestion in the metadata; the pixels are the photo.
Stretching instead of cropping. If the source photo is landscape and the document needs portrait, cropping is correct and stretching is not. Stretching distorts the face, and a distorted face is the easiest reason for a rejection. Crop to the required ratio first, then check the remaining pixels still meet the DPI target.
Upscaling a small photo to hit 300 DPI. Resampling invents pixels by interpolation. The file’s numbers improve and the face does not. For an identity photo, retake the photograph with good, even lighting and a plain background rather than upscaling a soft original. Upscaling is acceptable for a decorative print; it is a poor fix for a document that will be compared against a real face.
Forgetting the printer’s border and margin. A borderless calculation that fills the sheet exactly will lose its outer rows on a printer with a fixed margin. Measure the printable area, allow a cutting margin, and print a test sheet before printing a batch.
Using a shadowed, tilted, or busy-background photo. DPI and pixels are necessary but not sufficient. Document photos also require a plain, light background, a front-facing head, open eyes, and a neutral expression under most authorities’ rules. A technically perfect 300 DPI photo with a shadow across the face or a tilted head can still be rejected. Get the photograph right first, then get the numbers right.
A practical checklist before you print or upload
- Confirm the exact physical size your document requires, from the issuing authority’s current guidance.
- Convert to inches if the size is in millimetres (divide by 25.4), then multiply inches by 300 to get the required pixels in each direction.
- Crop — never stretch — your source photo to the required aspect ratio, and check the cropped pixel dimensions still meet the target.
- Divide the cropped pixels by the print size in inches to confirm the effective DPI is at least 300 for a print, or meets the upload’s pixel requirement.
- For a print, lay out the sheet allowing for the printer’s border and a cutting margin, and print one test sheet first.
- Check the finished photo itself: plain background, front-facing, evenly lit, no shadow, no distortion — then cut carefully along the edges.
Frequently asked questions
What DPI should a passport photo be printed at?
300 DPI is the safe working target for a passport or other document photo. The photo is viewed at close range, so a lower DPI shows up quickly as softness, while 300 DPI keeps facial detail crisp. For a 2 by 2 inch photo that means 600 by 600 pixels, and for a 35 by 45 mm photo it means about 413 by 531 pixels.
How many pixels do I need for a 35 by 45 mm photo?
At 300 DPI, a 35 by 45 mm photo needs about 413 by 531 pixels. Convert millimetres to inches first (35 mm is 1.378 inches and 45 mm is 1.772 inches), then multiply each side by 300. At 600 DPI the same photo needs about 827 by 1,063 pixels.
How many pixels do I need for a 2 by 2 inch passport photo?
At 300 DPI, a 2 by 2 inch photo needs 600 by 600 pixels: 2 inches times 300 DPI in each direction. At 600 DPI it needs 1,200 by 1,200 pixels. A file of exactly 600 by 600 pixels is therefore the minimum for a sharp 300 DPI print at that size, not a generous margin.
Does the DPI label in my image file matter for an online passport upload?
Usually far less than the pixel dimensions. Many online systems check the pixel size, the aspect ratio, and the file size, and ignore the DPI metadata entirely. A file labelled 300 DPI but only 300 by 300 pixels is still a low-resolution file. Check pixels first, then set the DPI metadata if the upload form asks for it.
Can I upscale a small photo to reach 300 DPI?
You can change the numbers, but you cannot add the missing detail. Resampling a 300 by 300 pixel photo up to 600 by 600 pixels only interpolates guesses between existing pixels, so the printed face stays soft. For an identity photo, the honest fix is a new, properly lit photograph at full resolution, not an upscaled copy of a weak one.
Bottom line
- A document photo is viewed at close range, so 300 DPI is the sensible target — unlike a distant banner, where far less suffices.
- DPI is always pixels divided by inches. Convert millimetres to inches first (divide by 25.4) before multiplying by DPI.
- A 2 by 2 inch photo needs 600 by 600 pixels at 300 DPI; a 35 by 45 mm photo needs about 413 by 531 pixels.
- A 4 by 6 inch sheet at 300 DPI is 1,200 by 1,800 pixels and fits 6 photos of either common format, subject to the printer’s border.
- For uploads, pixel dimensions and aspect ratio matter most; the DPI label alone proves nothing.
- Crop, never stretch, allow for printer margins, and retake a weak photo rather than upscaling it.
- Always confirm the exact size your issuing authority currently requires before printing.