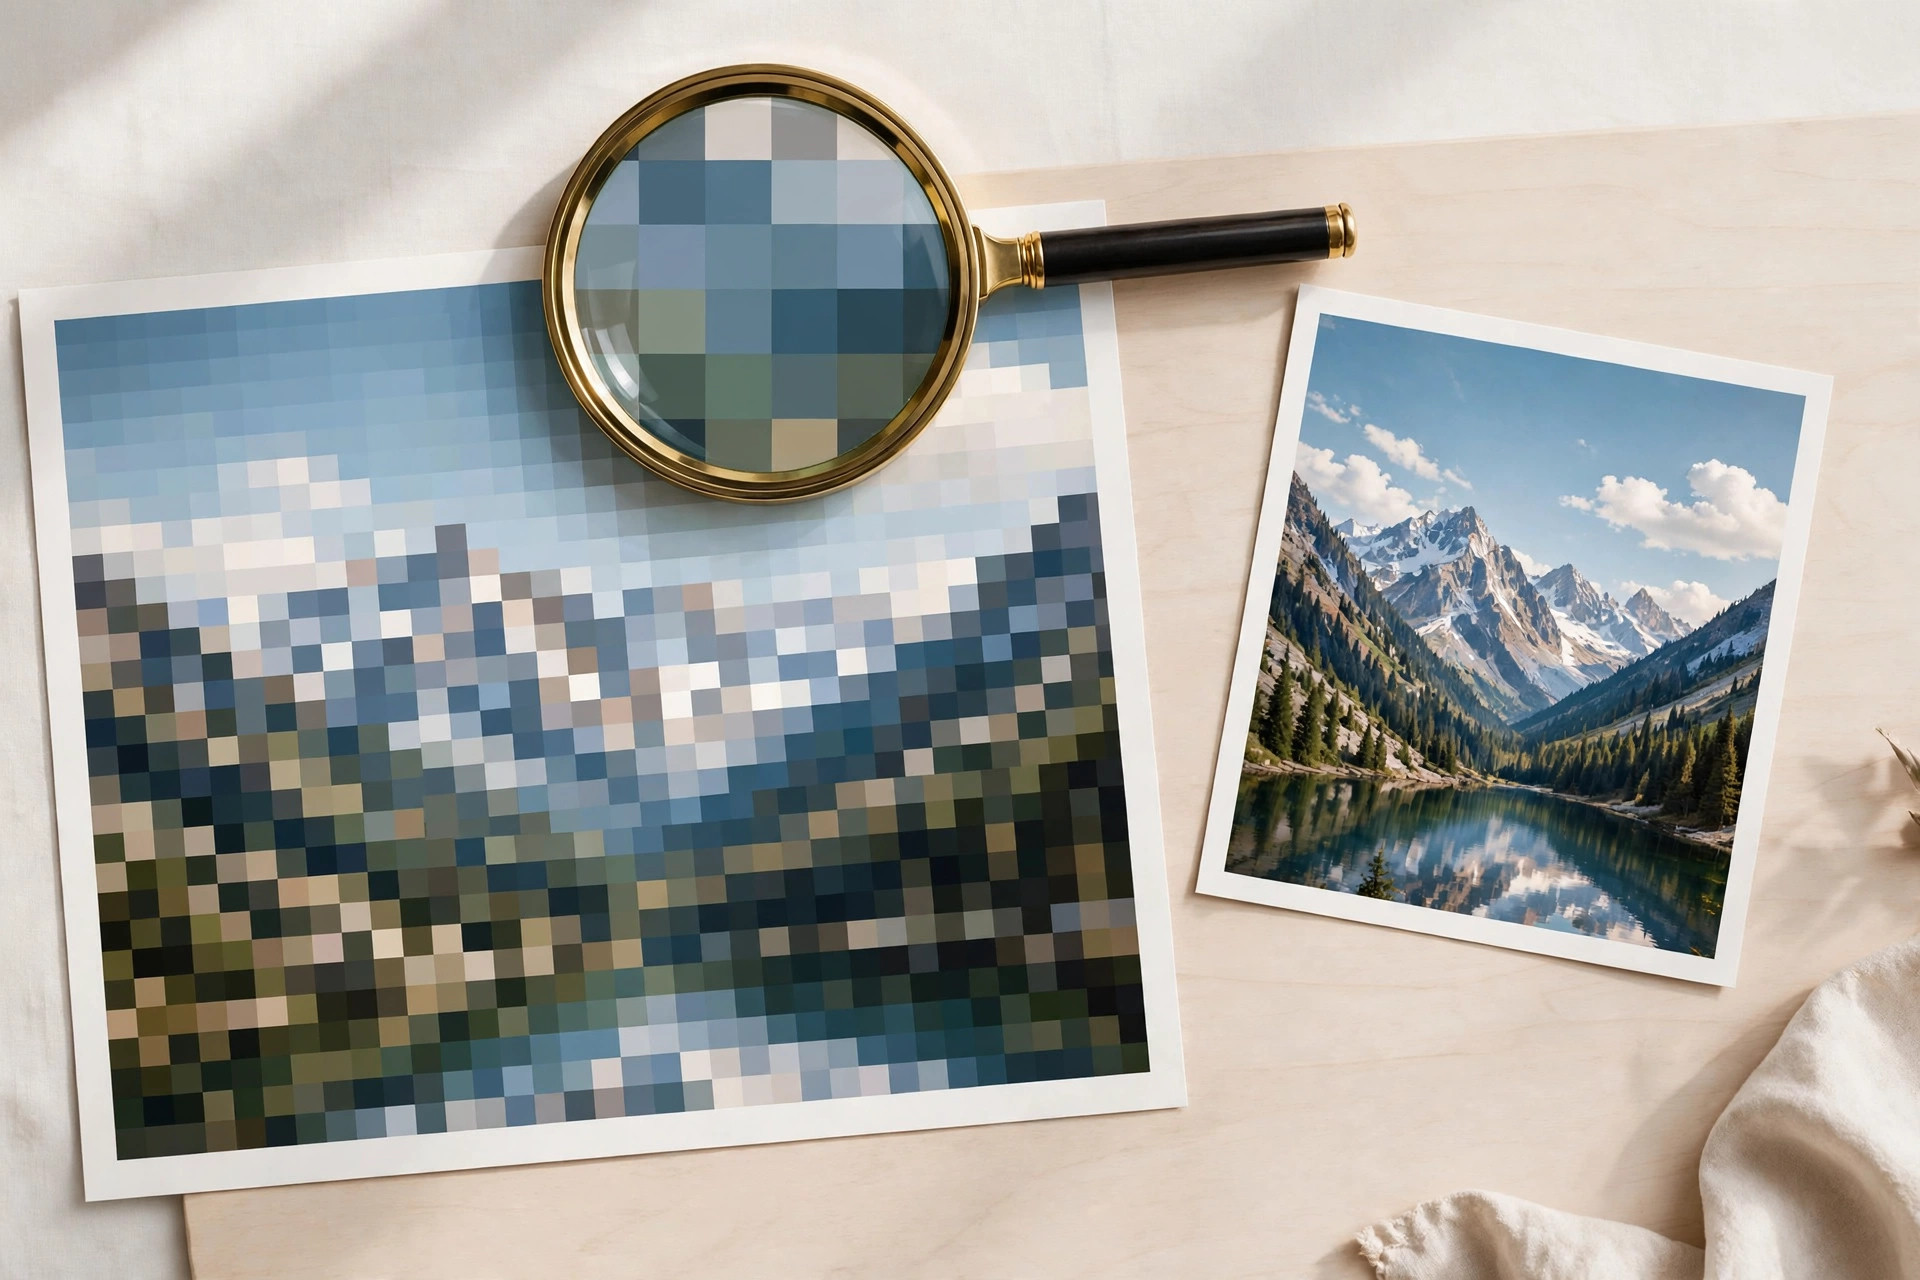
If you have ever exported a photo and been asked “72 or 300 DPI?”, you have met the most misunderstood setting in printing. The short answer is that neither number is “better” on its own. DPI only means something together with two other numbers: how many pixels your image has, and how large you want to print it.
What DPI actually means
DPI stands for dots per inch. In printing, it is the number of ink dots a printer places along one inch of paper. Effective print DPI is calculated from your image, not chosen by magic:
Effective DPI = pixels ÷ print size in inches
So a 3000-pixel-wide image printed 10 inches wide is 300 DPI (3000 ÷ 10 = 300). The exact same image printed 41.7 inches wide is 72 DPI (3000 ÷ 41.7 ≈ 72). Nothing about the file changed — only the print size did.
This is also why a DPI value stored inside a file is only a suggestion. It tells software what size to print at by default. It does not add or remove a single pixel of detail. If you want the full explanation, see the guide What Is DPI?.
The same image at 72 and 300 DPI
Take one photo: 3000 × 2000 pixels (6 megapixels, a typical phone photo). Here is what happens at each setting:
| Print setting | Print width | Print height | How it looks |
|---|---|---|---|
| 300 DPI | 10 inches | 6.7 inches | Sharp photo print, normal viewing distance |
| 150 DPI | 20 inches | 13.3 inches | Good poster, viewed from a step back |
| 72 DPI | 41.7 inches | 27.8 inches | Large poster — soft up close, acceptable from far away |
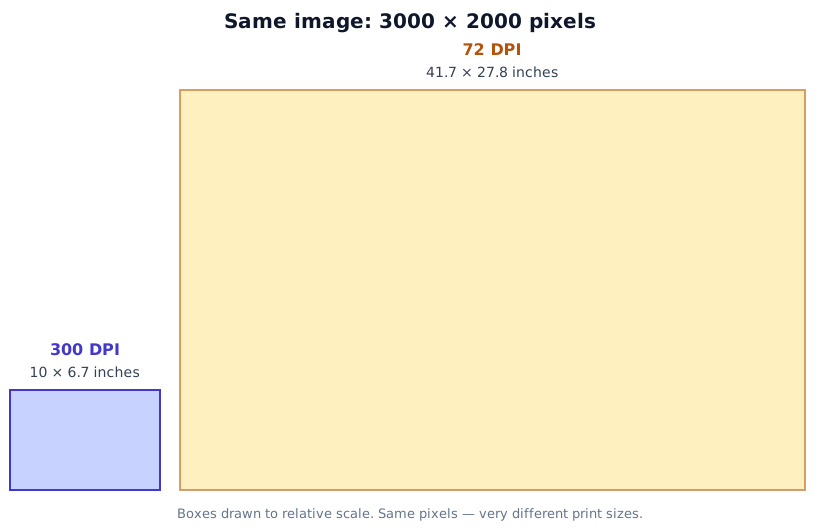
The diagram shows the point better than any paragraph: the 72 DPI print is more than four times wider than the 300 DPI print, because 300 ÷ 72 ≈ 4.17. Same pixels, stretched over four times the width — so each dot is four times larger, and the image looks softer.
Where does 72 DPI come from?
72 has a history. Early Apple Macintosh screens displayed 72 pixels per inch, and the print world used 72 points per inch (1 point = 1/72 inch), so 72 DPI became a convenient default. Modern screens are different: most desktop displays are around 96–110 PPI, phones are often 300–500 PPI, and a “72 DPI” label on a web image is mostly a leftover.
The important consequence: screens ignore DPI metadata. A browser shows an image by its pixels, not by its DPI tag. A 1200-pixel-wide image looks the same on a website whether its metadata says 72 or 300 DPI. What matters on screen is pixel dimensions. For printing, DPI is everything.
When 72 DPI is fine
- Anything shown on a screen: websites, social media, presentations, email. Use pixel dimensions (for example 1920 pixels wide for a full-screen slide), and stop worrying about the DPI tag.
- Very large prints viewed from far away: billboards, banners and exhibition graphics. From several metres away, the eye cannot resolve 300 dots per inch, so an effective DPI of 30–100 can look perfectly fine. This is why a billboard file does not need to be gigantic.
- Drafts and test prints: checking layout and colours before the final print.
When you need 300 DPI
- Photo prints you hold in your hand: 4 × 6 inch, 5 × 7 inch, A4 and A3 prints. At normal reading distance the eye resolves fine detail, and 300 DPI is the long-standing standard for photographic quality.
- Books, magazines and brochures: commercial print work is almost always prepared at 300 DPI (sometimes 350 DPI for high-end art books).
- Anything people will look at closely: product packaging, art prints, certificates.
A useful rule of thumb: the closer the viewer stands, the higher the DPI you need. The print viewing-distance guidance explains the trade-off in detail.
The middle ground: 150 DPI
Not everything needs 300. Newspapers typically print at around 150–170 DPI, and a poster viewed from a metre or two away looks excellent at 150 DPI. If your image cannot reach 300 DPI at the size you want, 150 DPI is often a good compromise rather than shrinking the print — check the result with a small test section printed at full size before committing to the whole print.
Worked examples
A 4 × 6 inch photo print at 300 DPI needs 1200 × 1800 pixels (4 × 300 by 6 × 300). Almost any modern phone photo clears this easily.
An A4 print at 300 DPI needs about 2480 × 3508 pixels (8.27 × 300 by 11.69 × 300). A 12-megapixel phone photo (4000 × 3000 pixels) prints A4 at 300 DPI with room to spare, and A3 at about 200 DPI.
A phone photo at 72 DPI: that same 4000 × 3000 image would print 55.6 × 41.7 inches at 72 DPI. That sounds impressive until you stand next to it — at that size, viewed from arm’s length, it looks visibly soft. Viewed from across a room, it looks fine. Distance is the whole story.
You can check any of these numbers for your own image with the DPI Calculator — enter the pixel dimensions and the print size, and it shows the effective DPI instantly.
The mistake that ruins prints
The most common mistake is “fixing” a low-DPI image by changing the metadata from 72 to 300. That only changes the suggested print size; it adds zero detail. The Change Image DPI tool does exactly this — it is useful for telling a printer the right size, but it cannot rescue a small image printed large.
The reverse mistake is also common: exporting a web image at 300 DPI and assuming it is “print-ready”. If the image is only 800 pixels wide, it prints just 2.7 inches wide at 300 DPI — no metadata setting changes that. Pixels are the raw material; DPI is only how thinly you spread them.
A second trap: trusting the DPI number a phone or app reports without checking. Some files carry no DPI metadata at all, and some carry a wrong default. The Image DPI Checker reads what your file actually contains and says so plainly when there is nothing there, instead of inventing a value.
Frequently asked questions
Is 300 DPI always better than 72 DPI?
No. For screens, the DPI tag makes no visible difference at all. For print, 300 DPI is better only at sizes where the image has enough pixels to sustain it. A 300 DPI print of a tiny image is just a tiny print.
Should I export web images at 72 DPI?
It does not matter. Export at the pixel size the screen needs (for example 1600–2000 pixels wide for a large web photo) and ignore the DPI tag. If a platform asks for 72 DPI, it is asking for a legacy default, not a quality setting.
Can I convert a 72 DPI image to 300 DPI?
You can change the metadata, which changes the default print size — but you cannot create detail that was never captured. Upscaling software can smooth the result, but it is guessing, not recovering. The honest test is pixels ÷ inches, every time.
What DPI do I need for a poster?
It depends on viewing distance. A poster viewed from a metre away: aim for 150 DPI or more. A banner viewed from several metres: 72 DPI or even less can be fine. When in doubt, print a small section at full size and look at it from the real viewing distance.
Bottom line
- DPI = pixels ÷ print inches. Always check all three numbers together.
- 72 DPI is a screen-era default and a large-format reality, not a quality grade.
- 300 DPI is the standard for close-up photo and commercial print.
- Viewing distance decides what is “enough” — and no metadata edit can substitute for pixels.
Run your own photo through the DPI Calculator before you print: if the effective DPI at your chosen size is 300, print with confidence; if it is 72, either print smaller or step further back.